KIWI STORAGE

Building a high-performance Jamstack website with Next.JS and Sanity.

Objectives

ABOUT KIWI STORAGE

Kiwi Storage logo

Kiwi Storage provides storage solutions such as business storage, self-storage and mobile storage. They have been on the market since 2007 and serve the City of London and surrounding areas.

Besides self-storage, their services cover: removals, shipping and packaging supplying.

Challenge

  • Limited Wordpress Options
  • Limited Dev Resources
  • Security Concerns

When KIWI reached us, they had an established brand but weren’t satisfied with the website they owned. They had to deal with many WordPress limitations and strongly relied on cooperation with external developers. What’s more, they had a lot of security concerns.

KIWI decided to make their website the main source of lead generation. They wanted to change the website approach and totally automate the storage ordering process by integrating the third-party system. They decided to do so, as they knew that their customers are used to working and studying remotely and may not want human interaction during the ordering process.

Making a website the main lead source is a popular approach in the digital world we live in. But doing so requires a high-security, fast and scalable website. And migration to Jamstack is the perfect answer for all those conditions.

Project requirements

During project planning, we distinguished 4 main project requirements, that aimed to fulfil the customer's needs.

  • To build a consistent brand visual for a website
  • To integrate design with a flawless User Experience
  • To create a high-scalable, secure and super-fast Jamstack website
  • To enable easy content management

Services Provided

Why Next JS?

Next JS and Gatsby JS are the most popular tools to build in React. We chose Next.js for this project, as the customer aspires to rebuild the website into an e-commerce platform with a customer accounts creator and wants to deal with sensitive data from the clients.

In projects like that, the most important factors are

  • High-performance
  • Security
  • Ability to support custom features

This is why Next.js is the winner in this case - it would be incredibly hard to interact with users just by using static pages. Of course, most of these functionalities you can achieve in Gatsby using third party services, but Next.js is still a clear winner.

Even though Next and Gatsby are quite similar, they differ in the use cases they are best suited for. We’ve created an article on which one to choose and when. If you’re not feeling like reading, check out the video below:
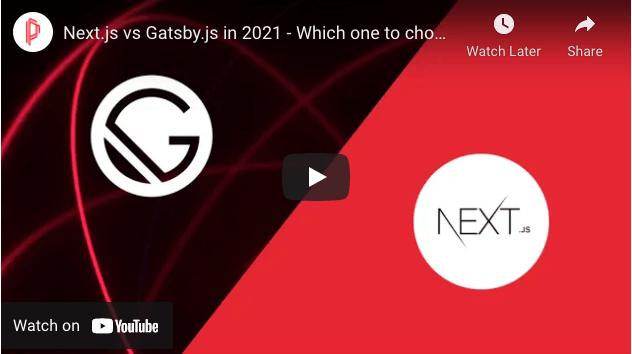
NextJS vs Gatsby video

Why Sanity?

Sanity was the best choice for this project because it works perfectly well as a headless CMS in Jamstack projects and provides full flexibility in content management.

NextJS logo

Why Next JS?

  • Great for customised UX
  • Easy scalable
  • High-security
  • Flexibility in building UX and UI
  • Rapid feature development
Sanity logo

Why Sanity?

  • High flexibility
  • Easy management
  • Easily accessible
  • Ideal for Jamstack integration
  • Powerful free plan

Why did we cut the website’s head?

We decided to go headless because the customer wanted to avoid the limitations that he faced with the previous website, which was built on WordPress.

Headless CMS is the best solution for flexible content management in future-proof projects like this one. The headless approach decouples content management from the presentation layer, which brings many benefits, like

  • Flexibility

    Full control over the content appearance and information architecture.

  • Seamless Integrations

    Any chosen functionality can be connected via the respective API.

  • High security

    Decoupled front- and back-end keeps the data secure from hackers attacks.

  • Easy Scalable

    Separated presentation and logic layers make the content adaptable to future modifications.

Should we get it done?

Let's talk about you now!

Tell us about your challenge, and let's get the ball rolling.

The Delivery

Since we work with Jamstack projects for over 10 years now, we’ve built a strict and effective Jamstack delivery process that consists of 4 main phases: Discovery, Design, Development & Testing and Launching.

Each phase consists of steps prepared individually for the project requirements.

Jamstack steps

Phase 1: Discovery

Correctly managed discovery helps to build the base for a successful project. In this particular project, we were focused on building a consistent brand visual with outstanding UI and UX designs.

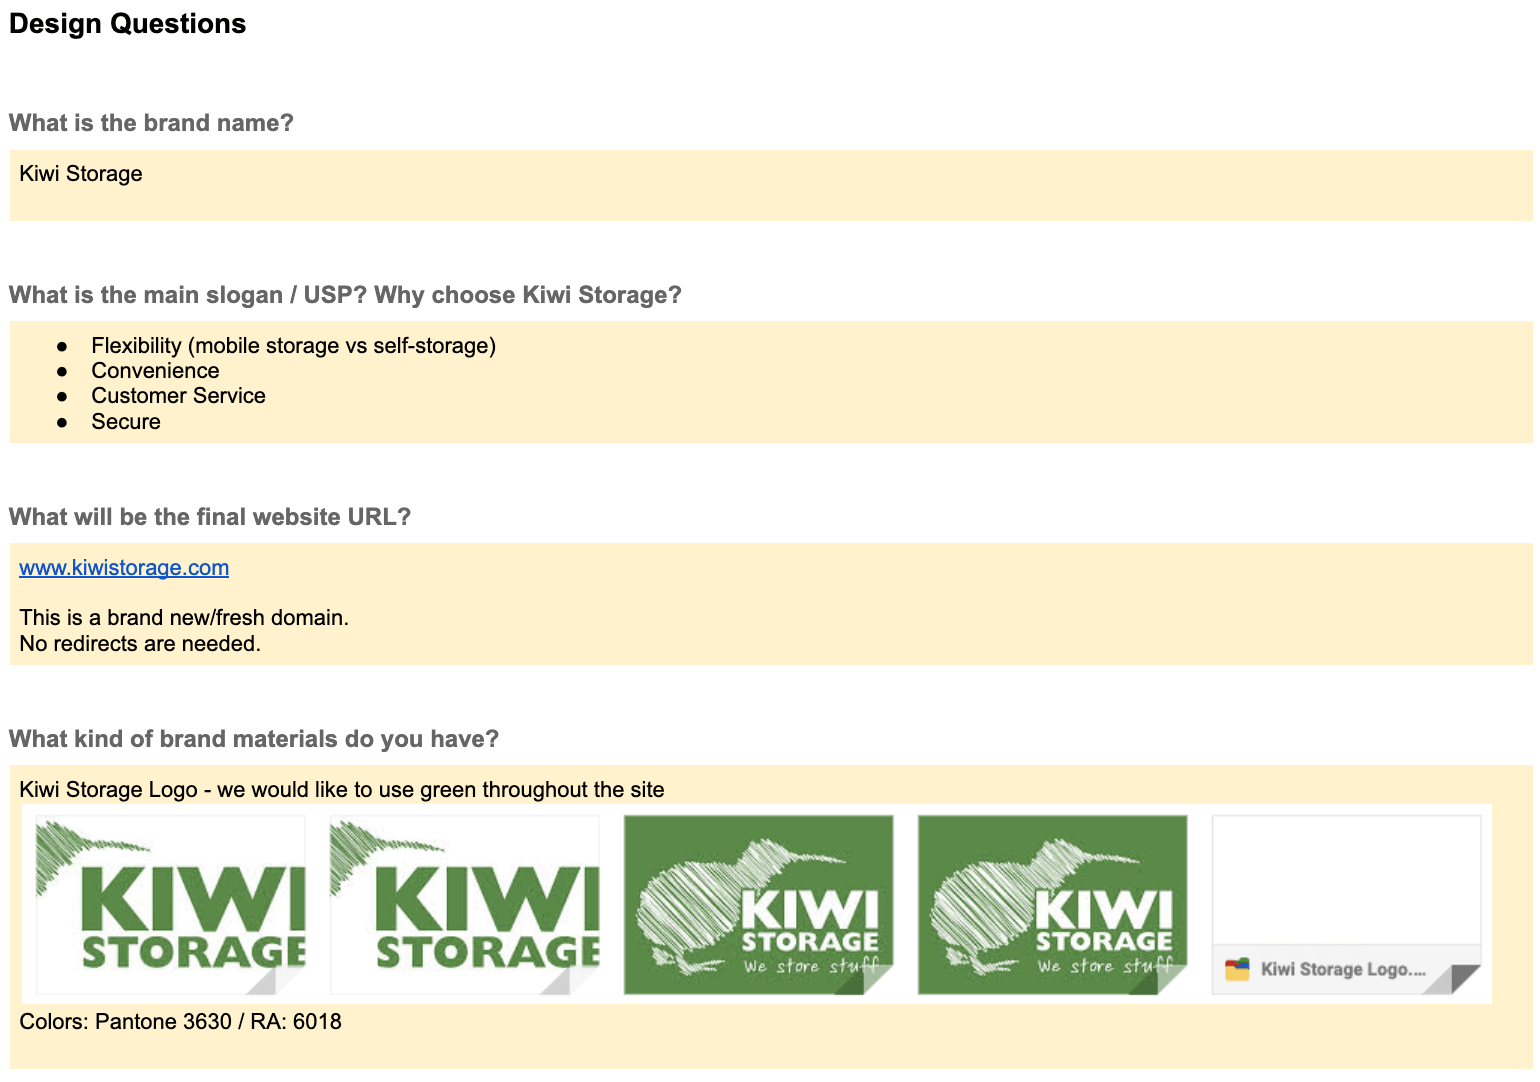
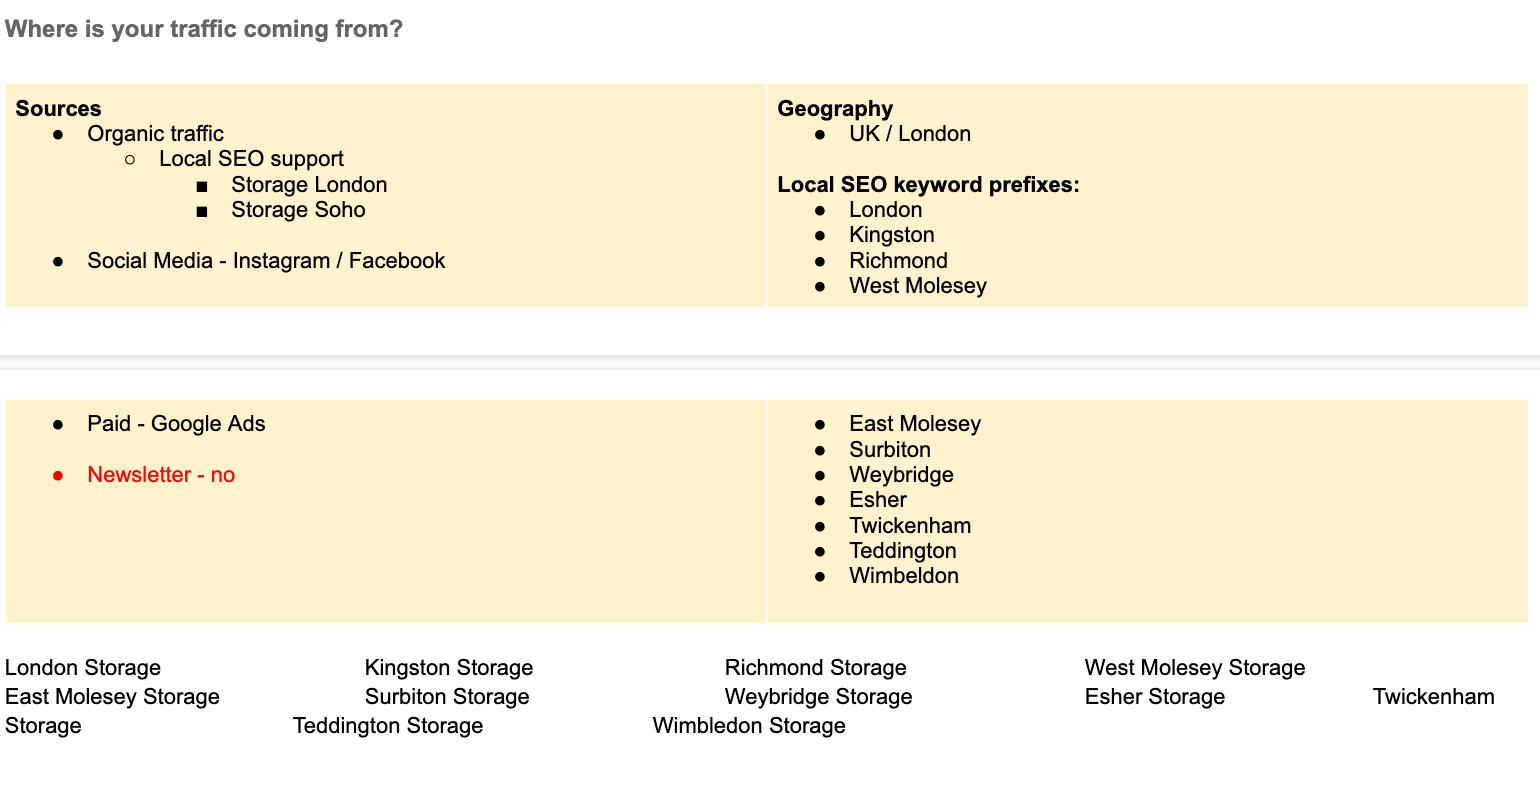
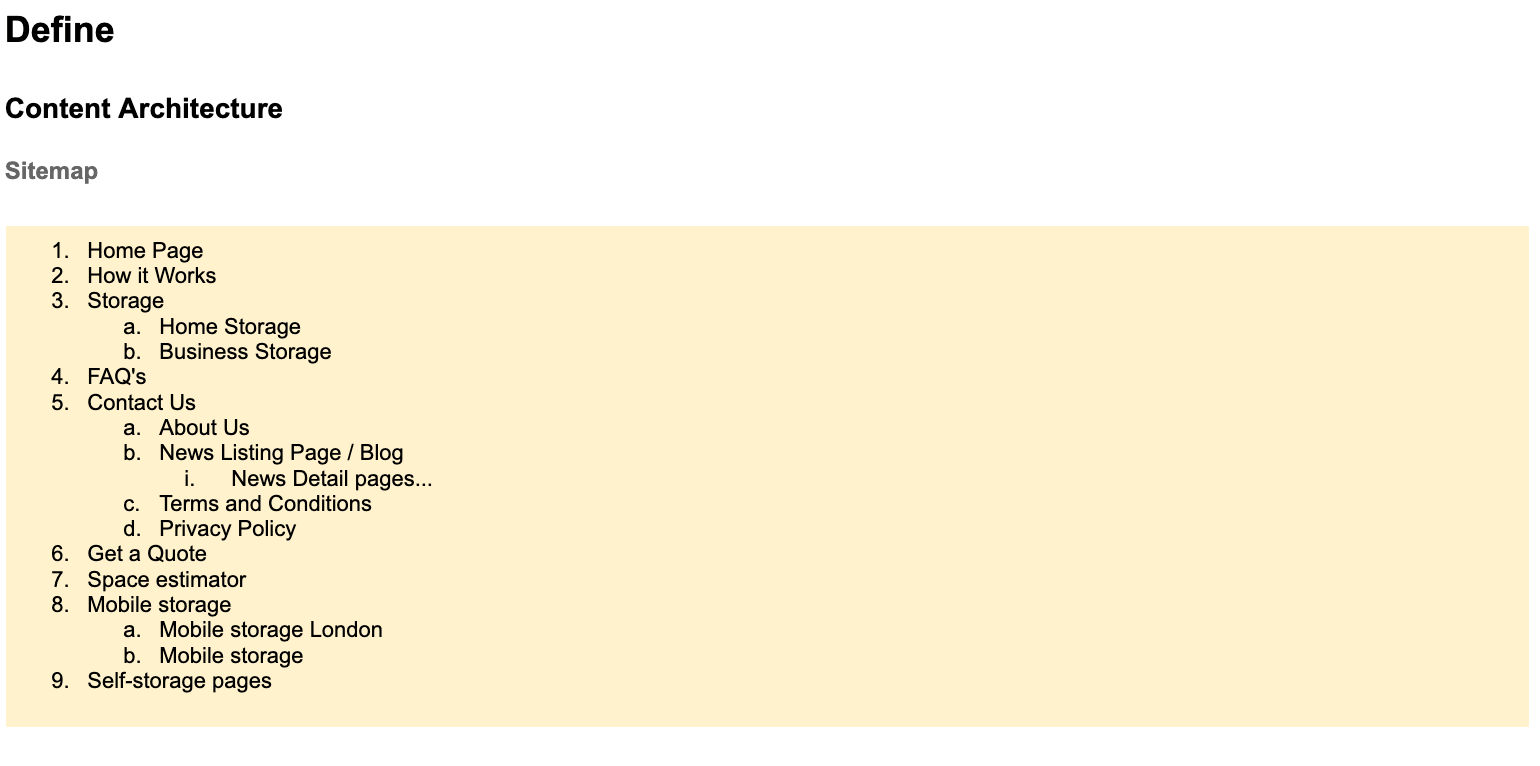
During the discovery phase, we investigated the project deeply and chose the right Tech Stack for the project. Together with KIWI, we defined Content Architecture, Funtionatilties and Integrations.

  1. Case study screenshot 1
  2. Case study screenshot 2
  3. Case study screenshot 3

Phase 2: Design

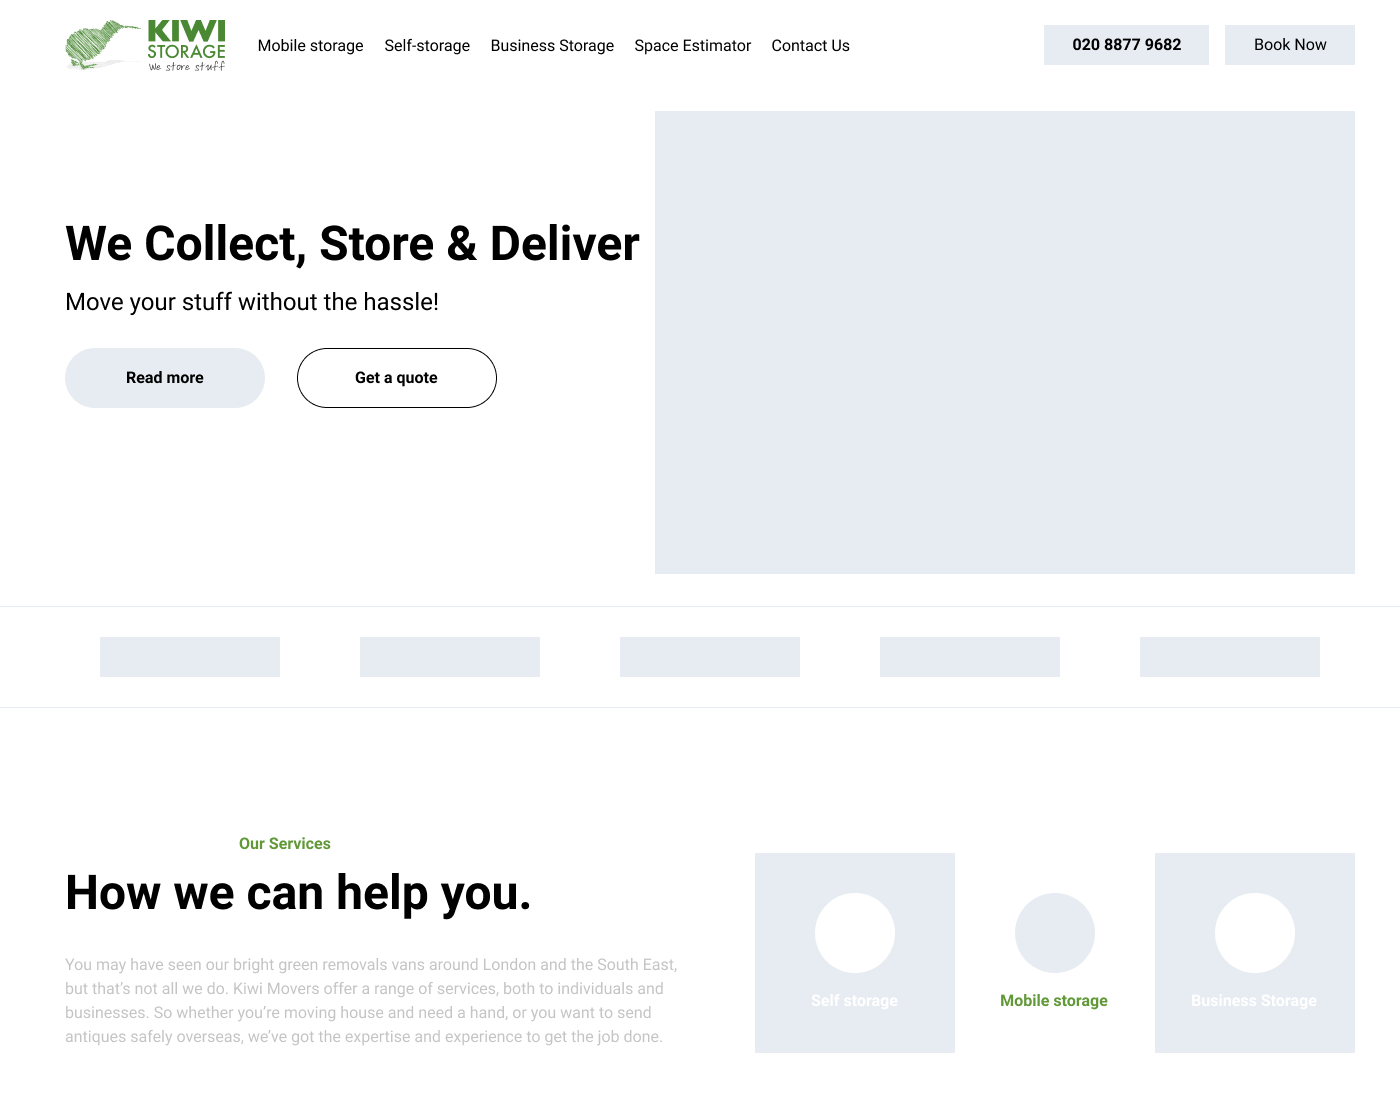
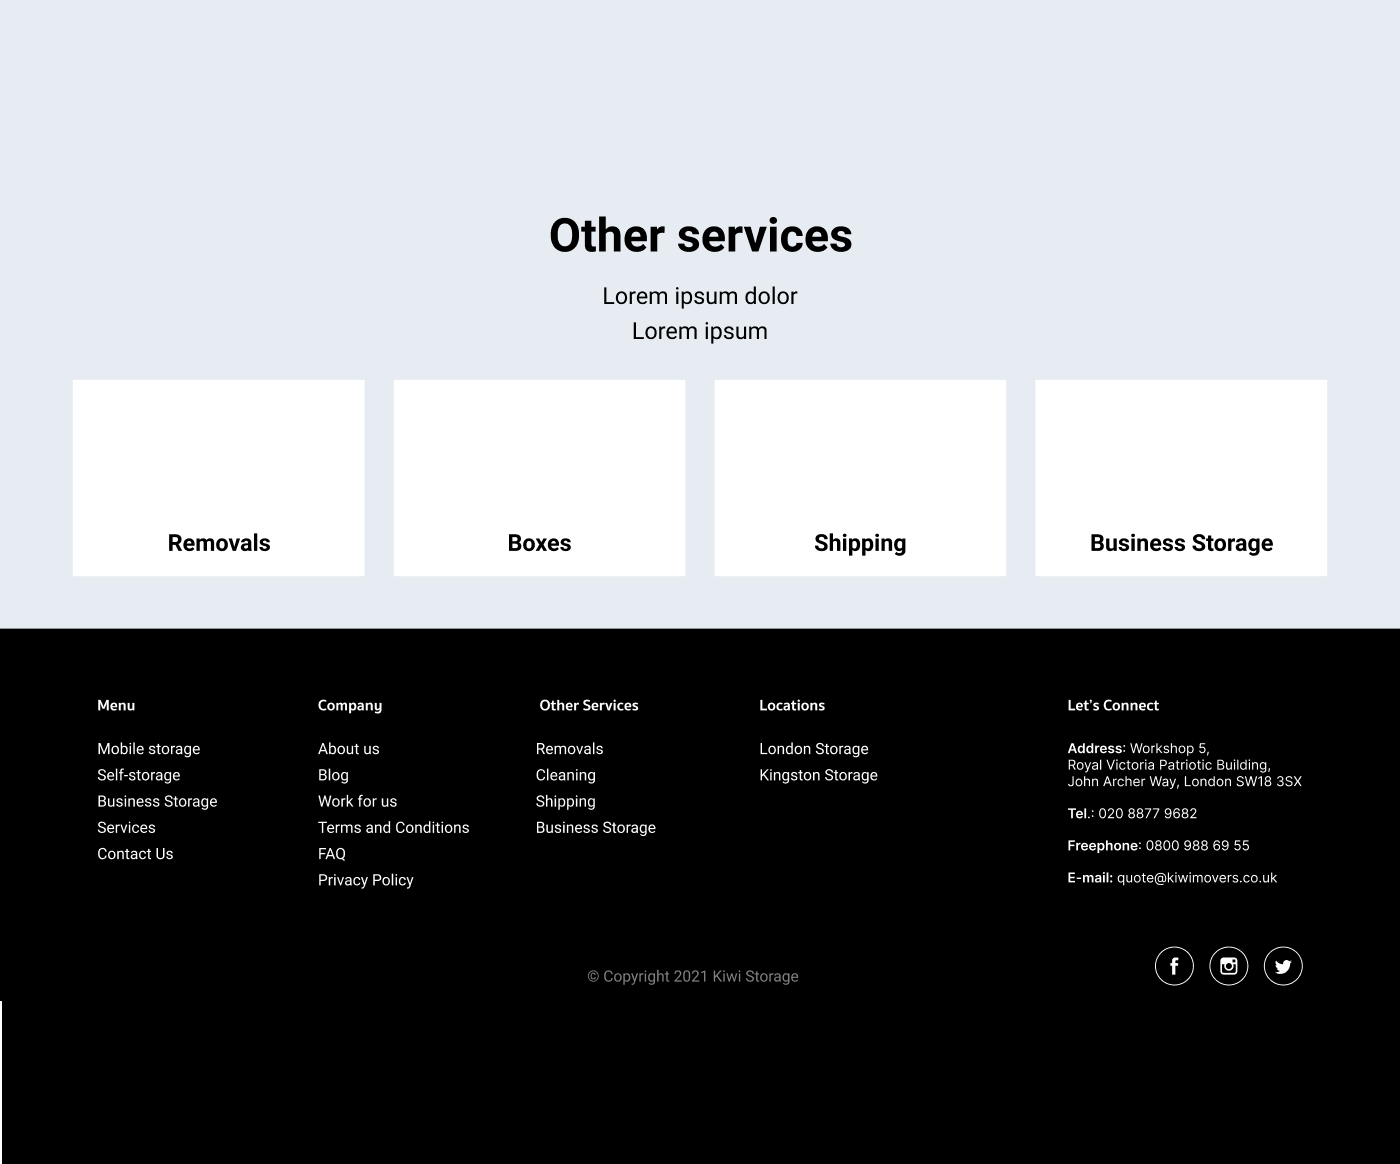
We started this phase by creating UX designs to map the user journey and detailed wireframes that showed up the overall idea for the project.

  1. Case study screenshot 19
  2. Case study screenshot 20
  3. Case study screenshot 21

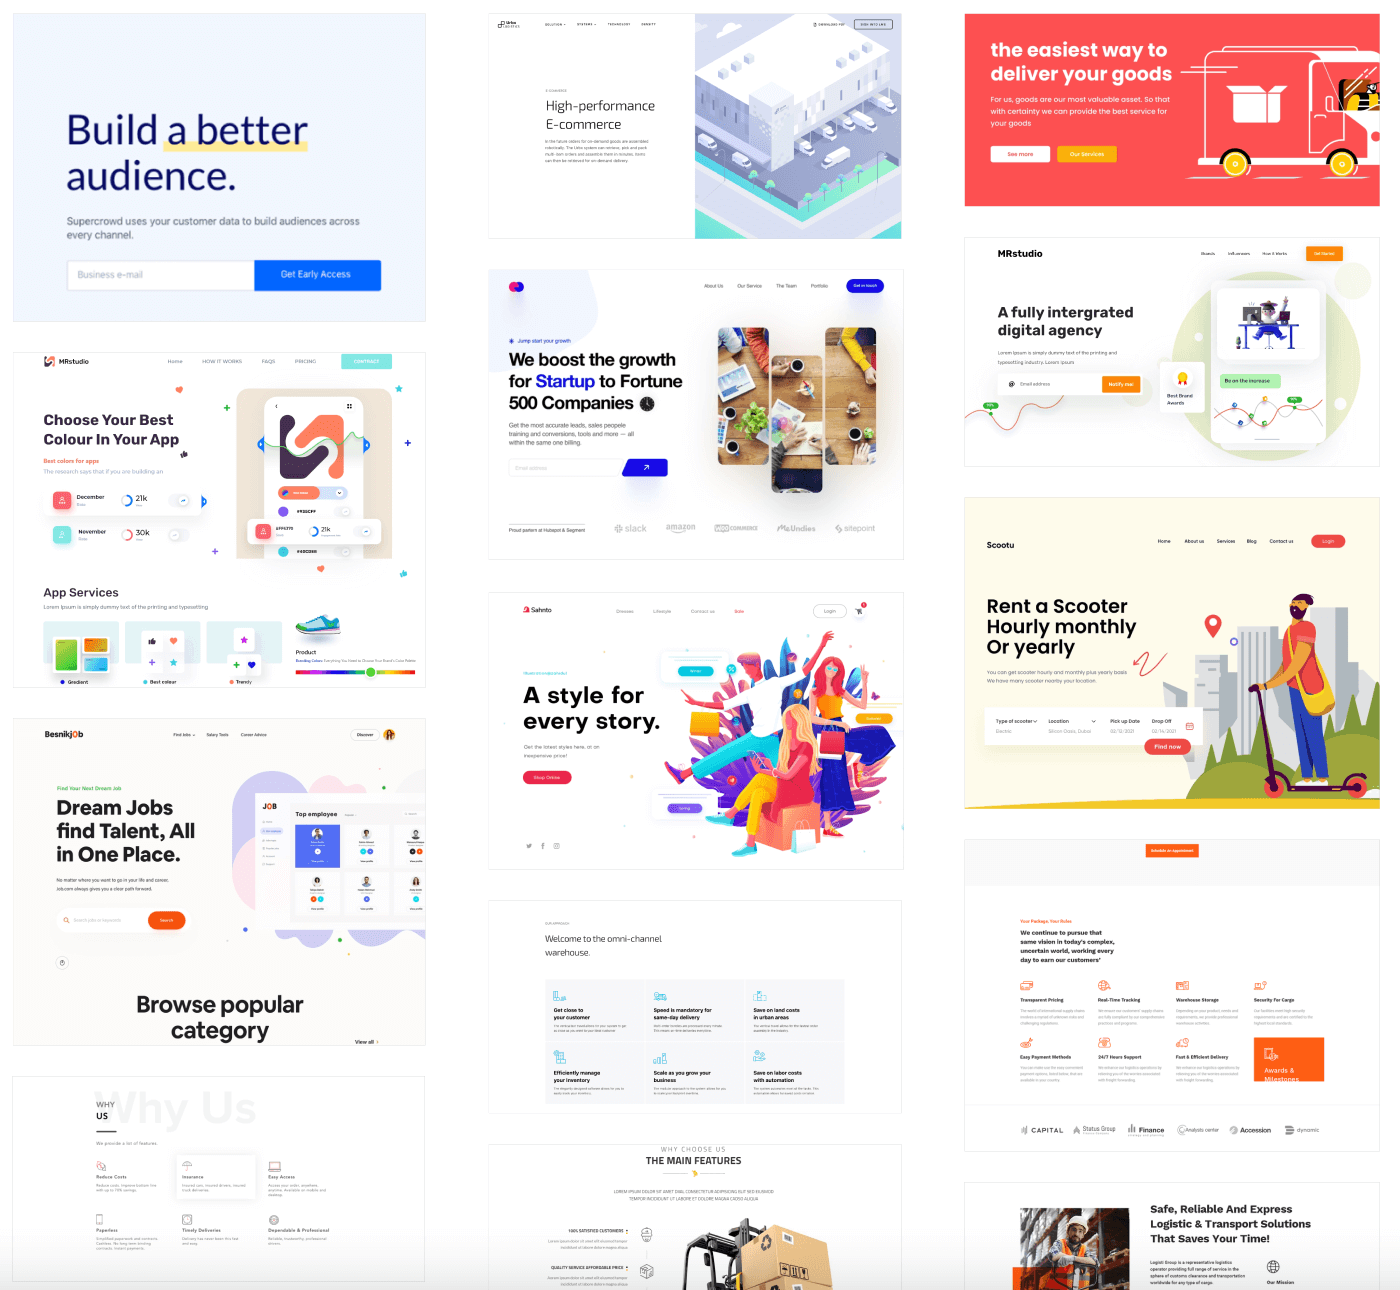
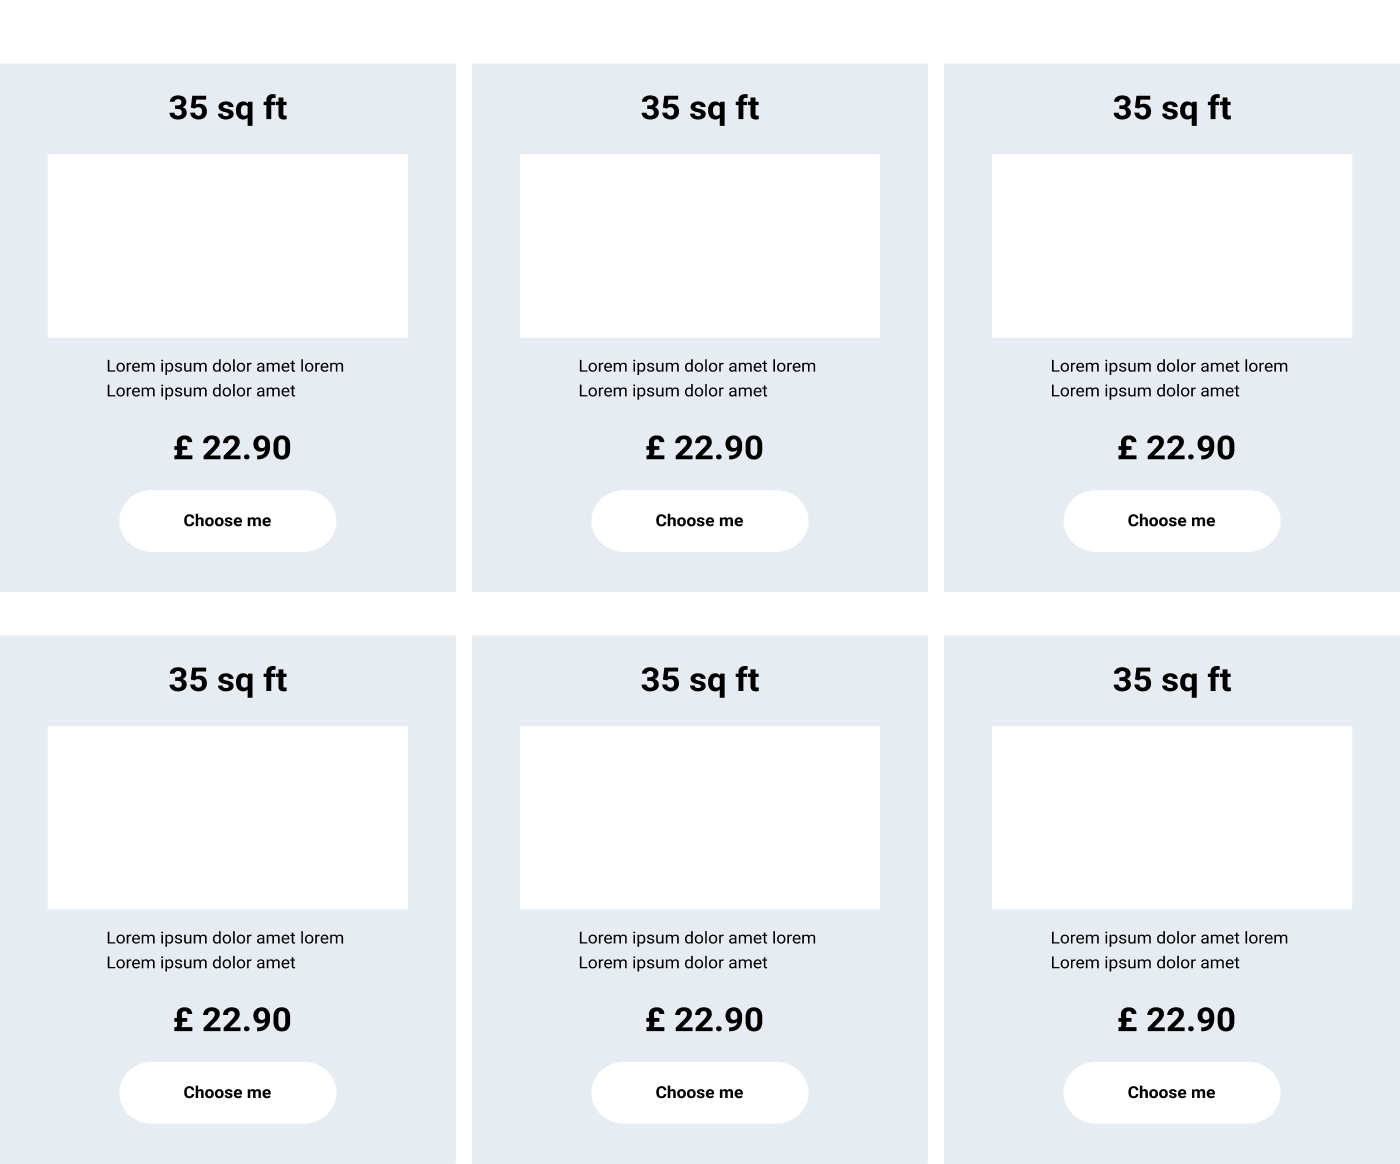
After the successful launching of the UX designs, we then started to create a user interface by designing the mood boards. Mood boards help us collect ideas and thoughts in one place to define a simplified design concept.

Kiwi storage moodboard

Once the mood boards and wireframes are accepted by the customer, we are focusing on the final look of the project.

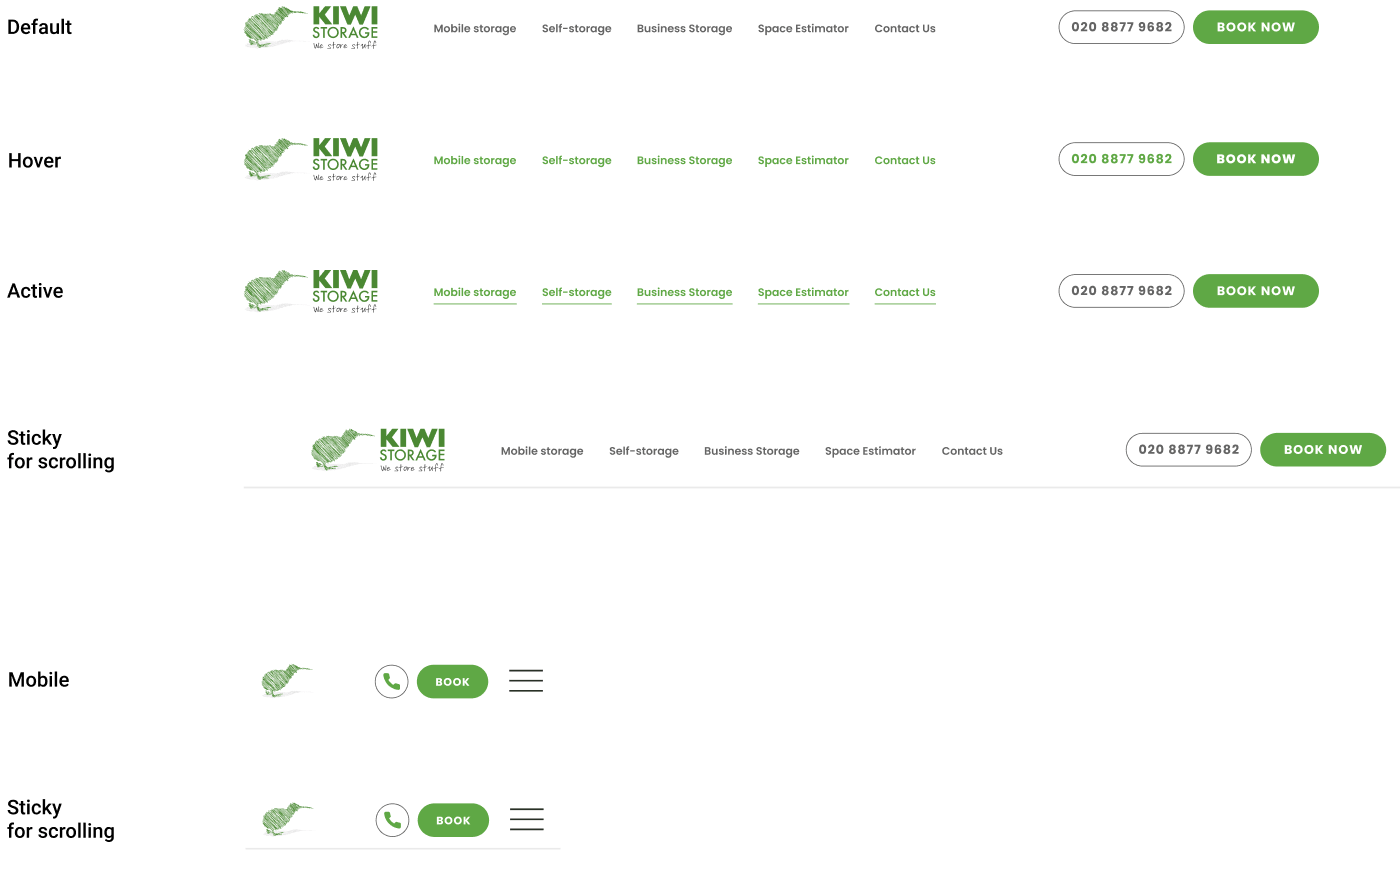
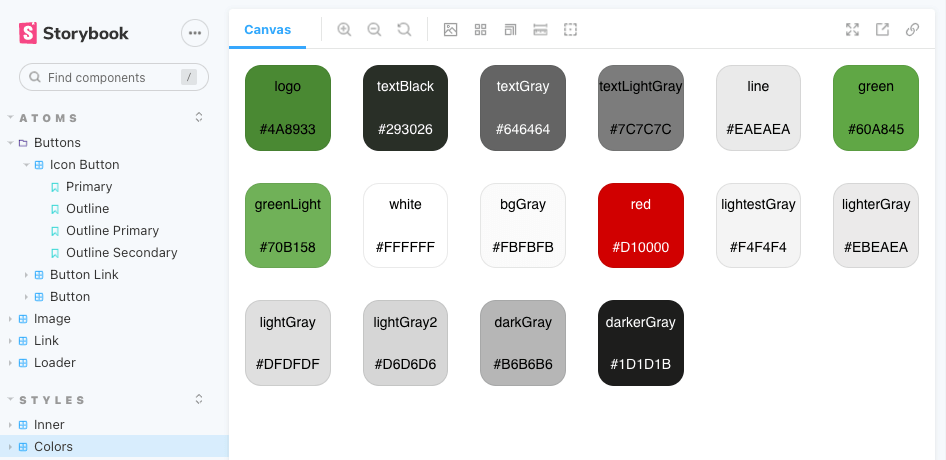
Even though KIWI had an established brand, they wanted to expand the brand's visual identity and gain more control over it, so we decided to build a custom UI component library.

Creating such a library is a great idea when the company is focused on the future and plans to develop the digital brand further.

  1. Case study screenshot 5
  2. Case study screenshot 6
  3. Case study screenshot 7

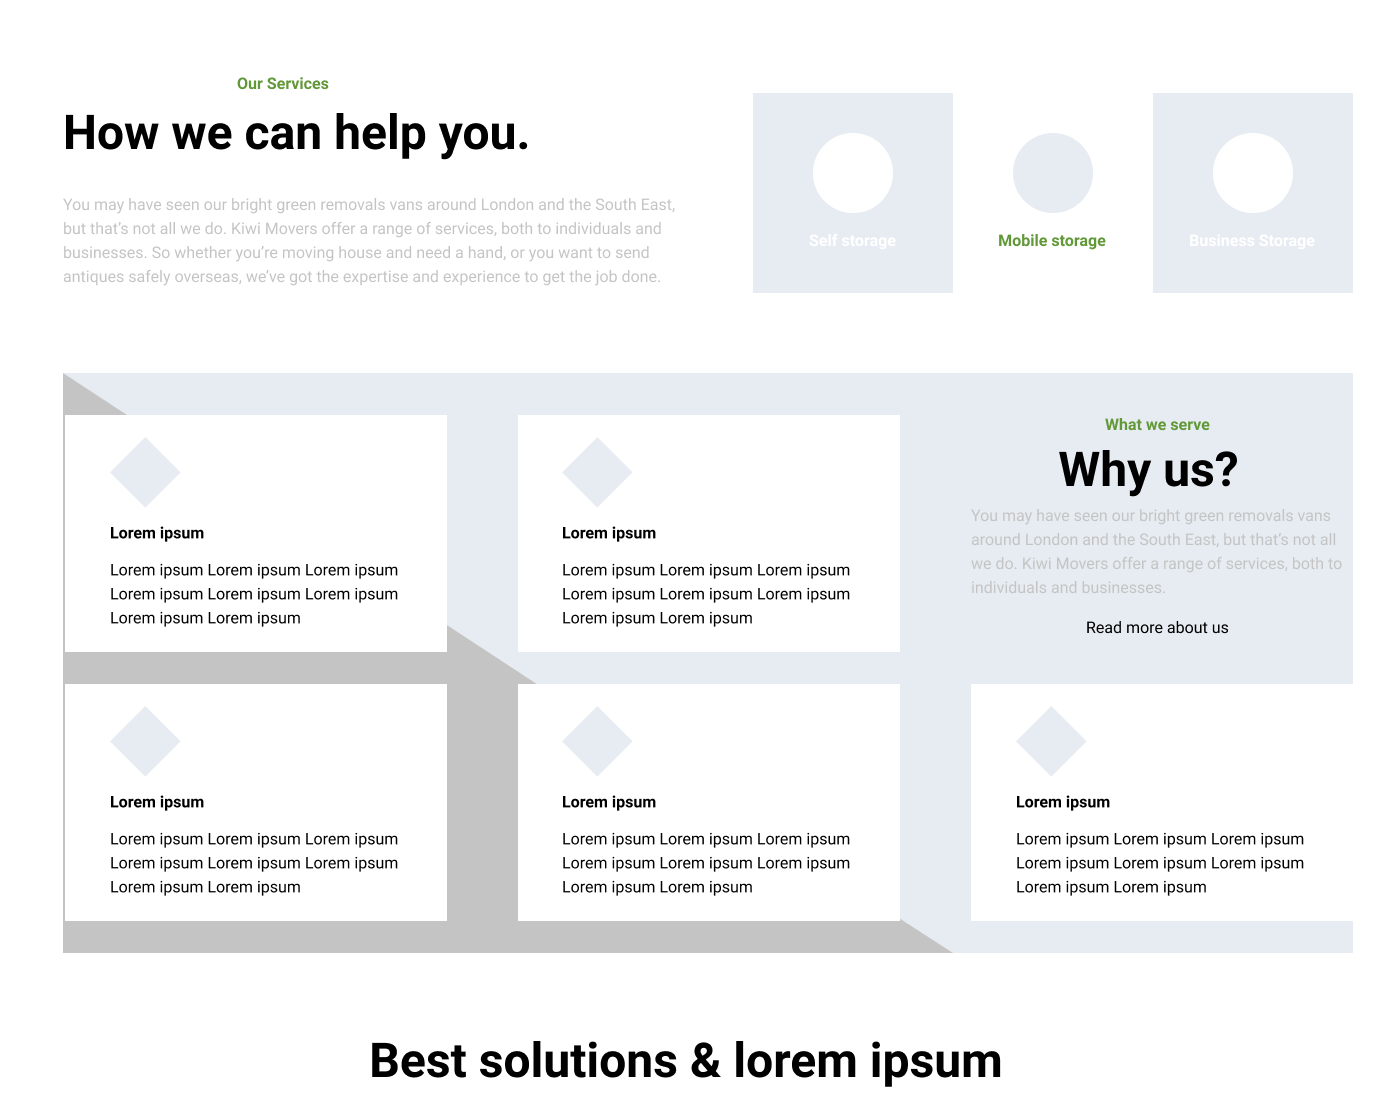
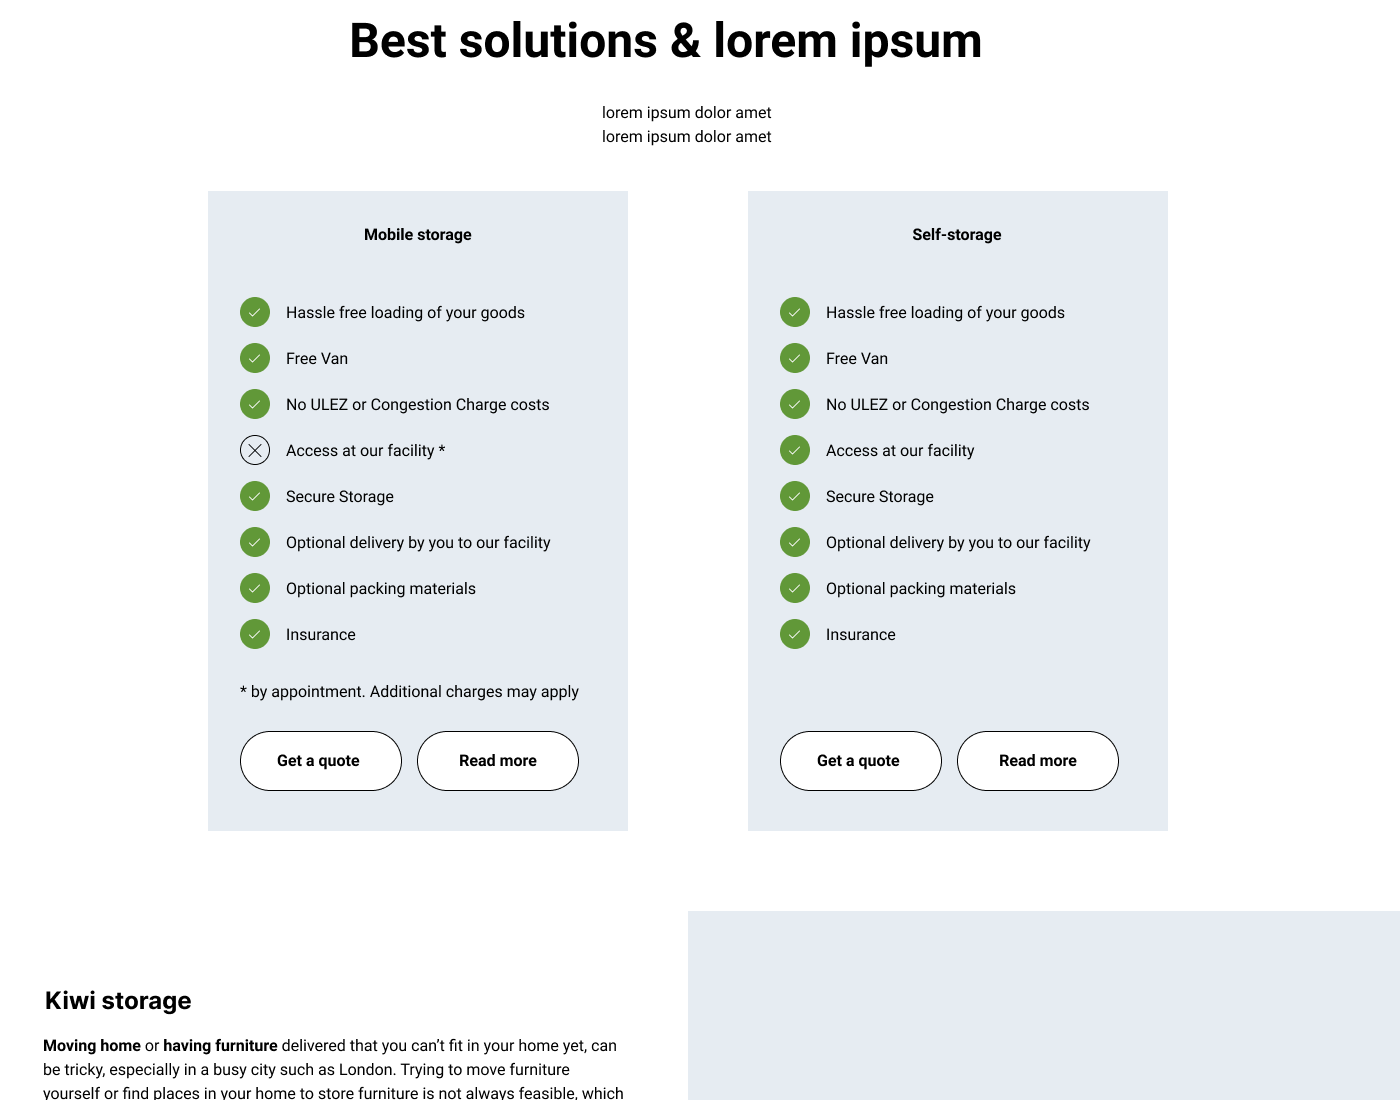
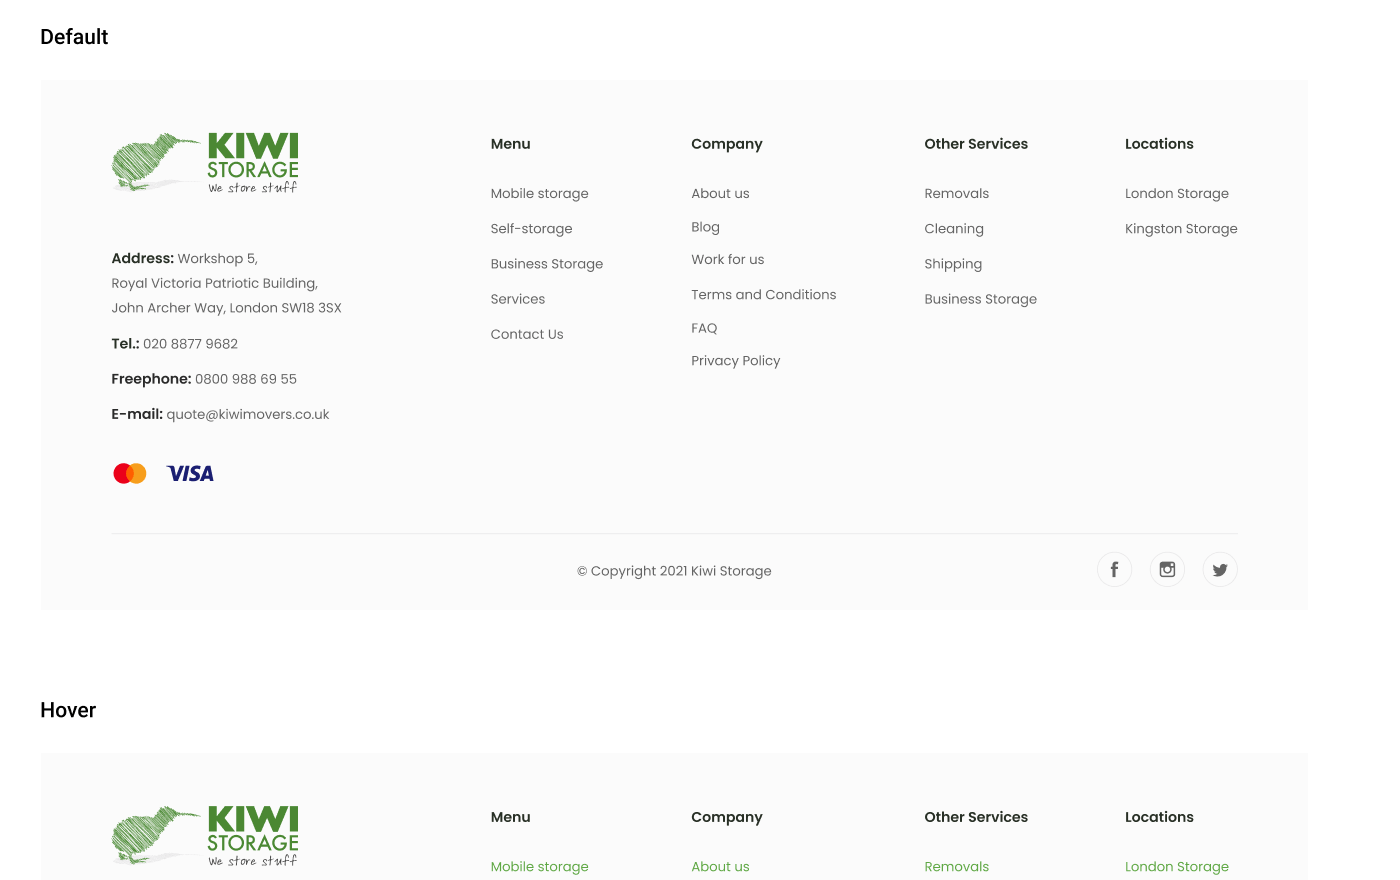
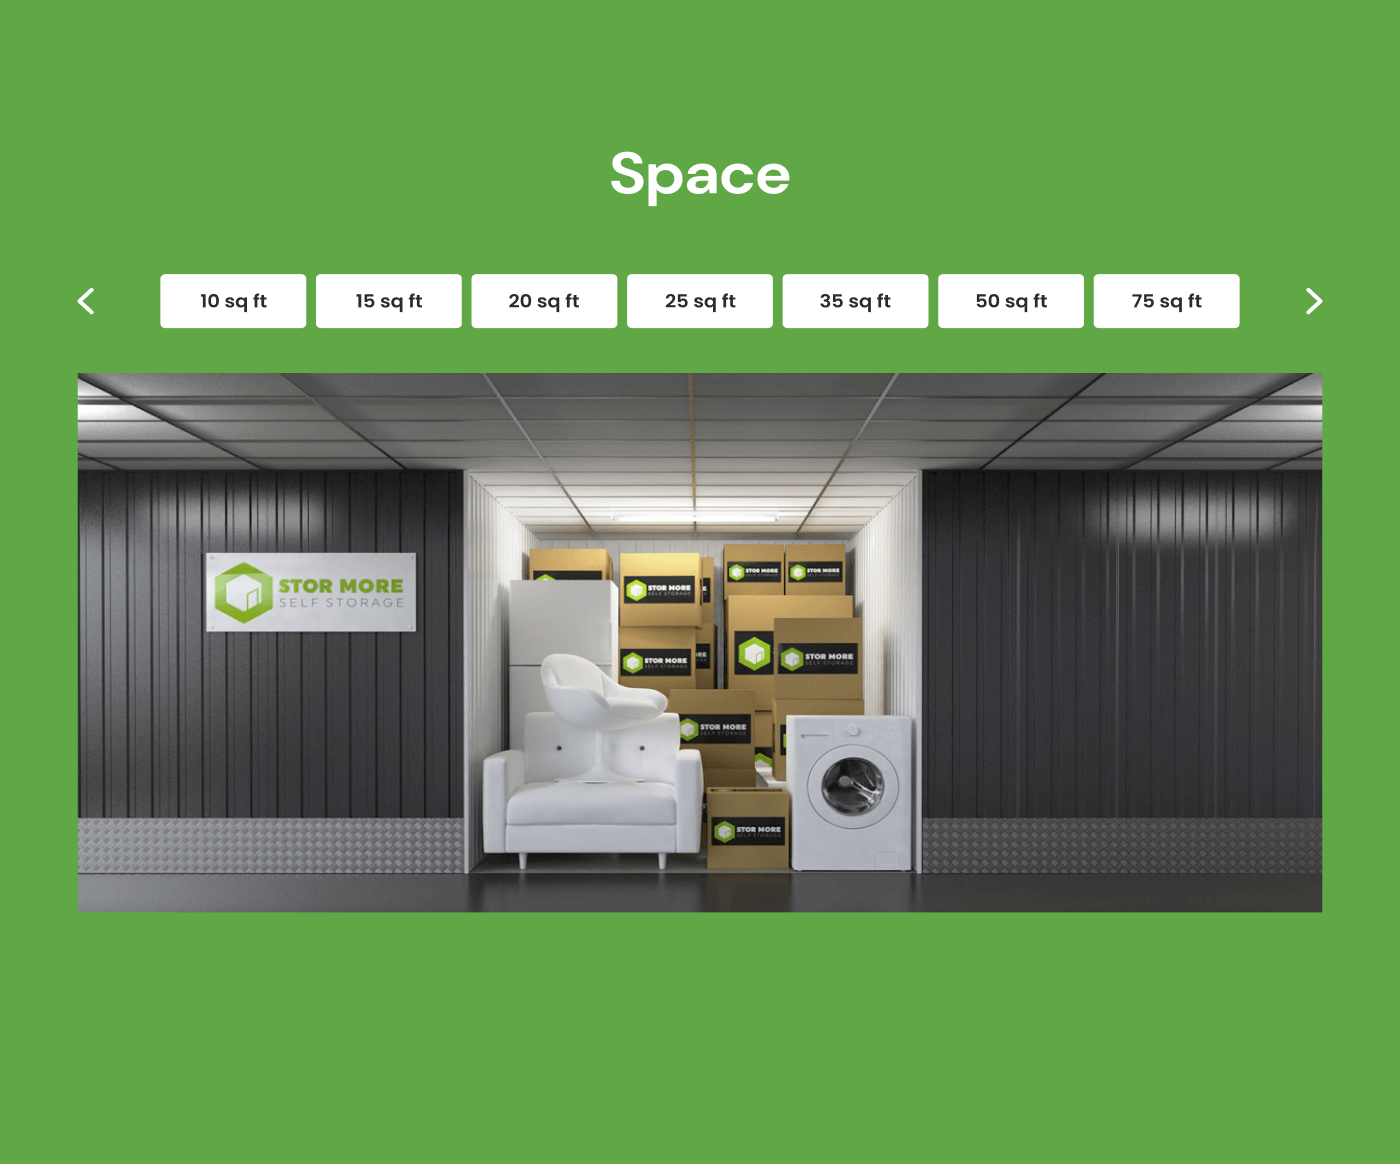
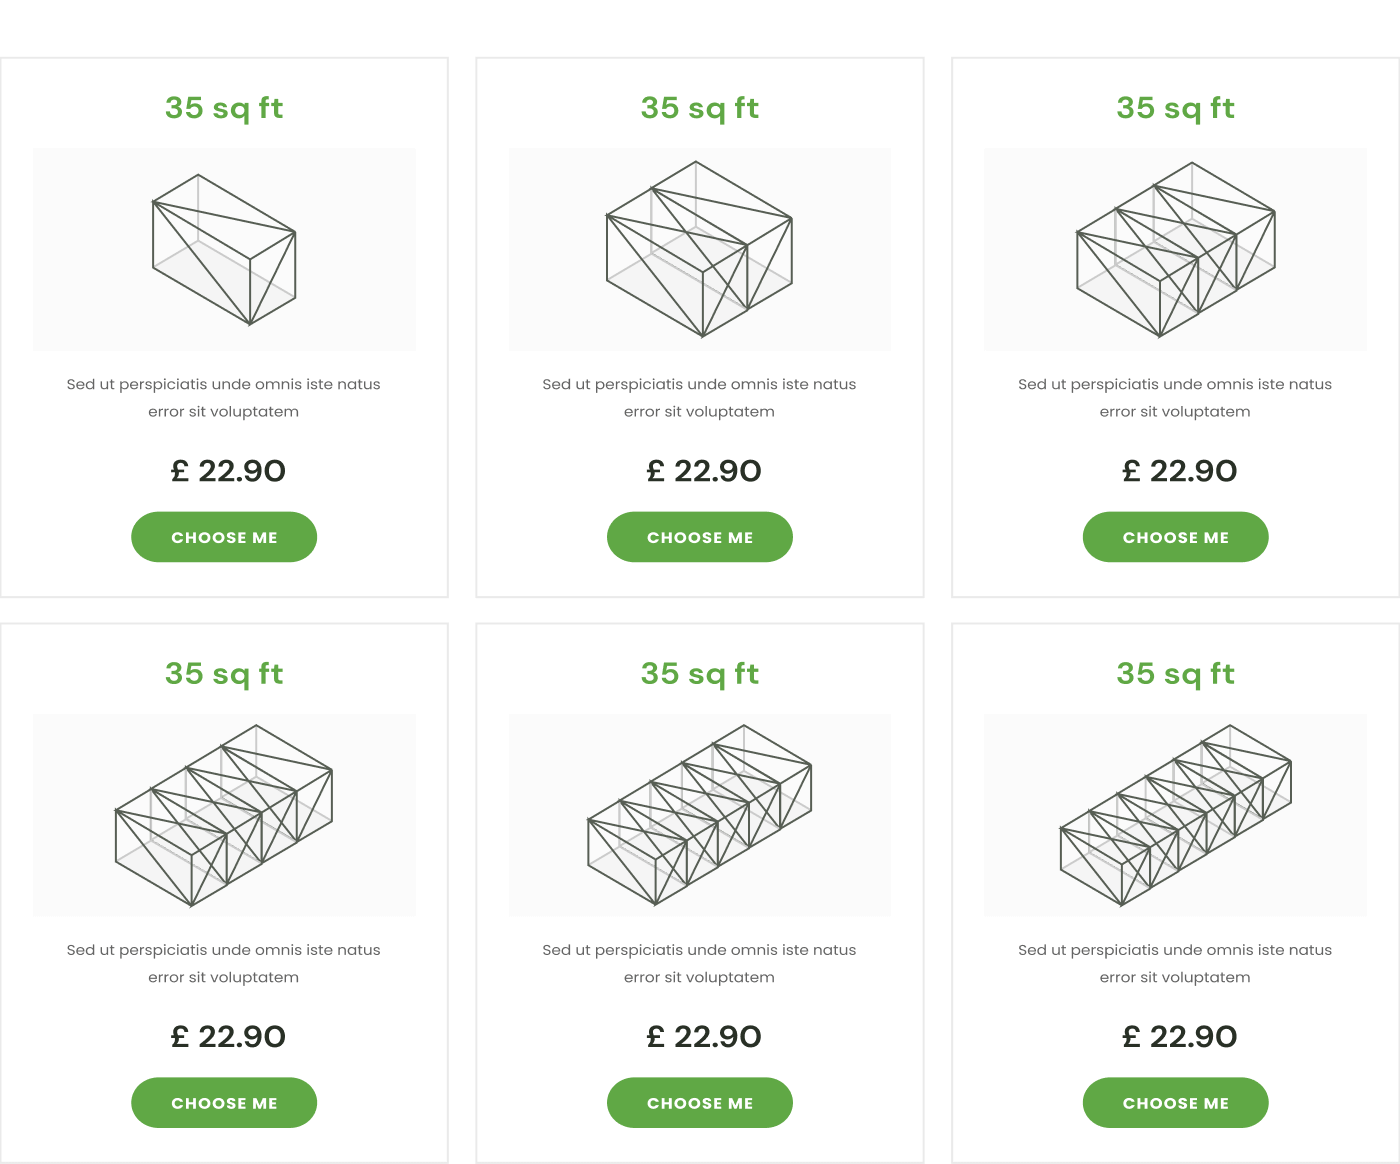
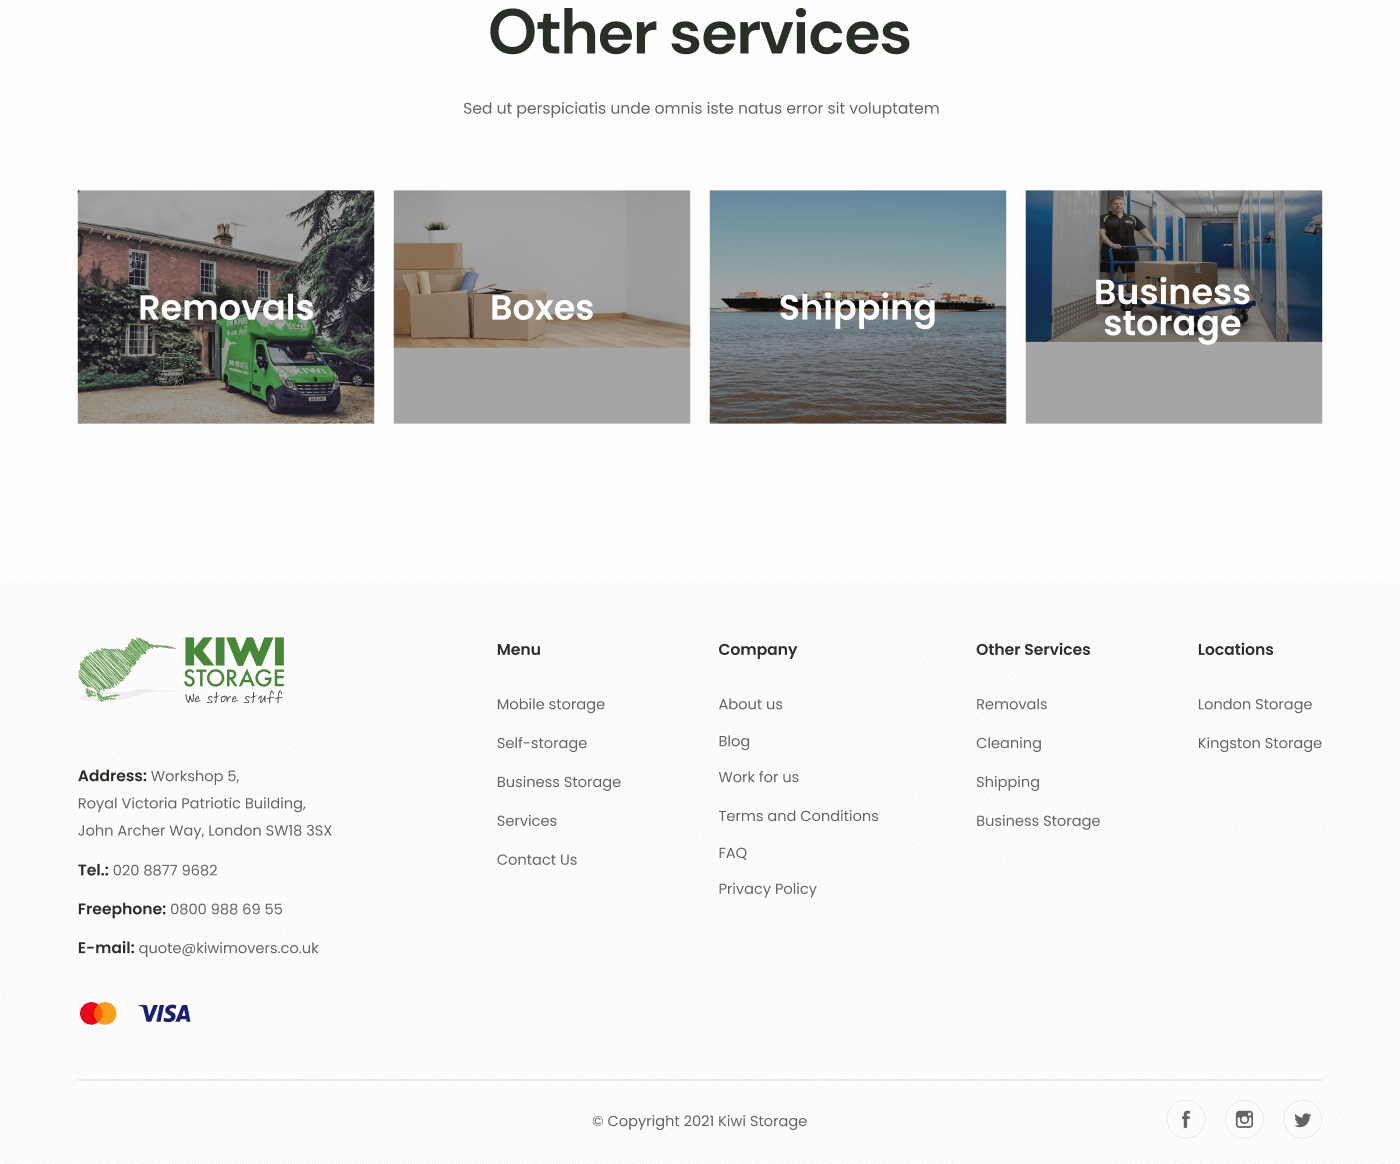
At the end of the design phase, we combine all the pre-defined components into the final website project, see the results below:

  1. Comparision screenshot 9
  2. Comparision screenshot 11
  3. Comparision screenshot 13

Phase 3 and 4: Development & Testing

After the design phase, we rushed into the development, by creating the initial backlog, setting up testing environments and initial configuration for Headless CMS.

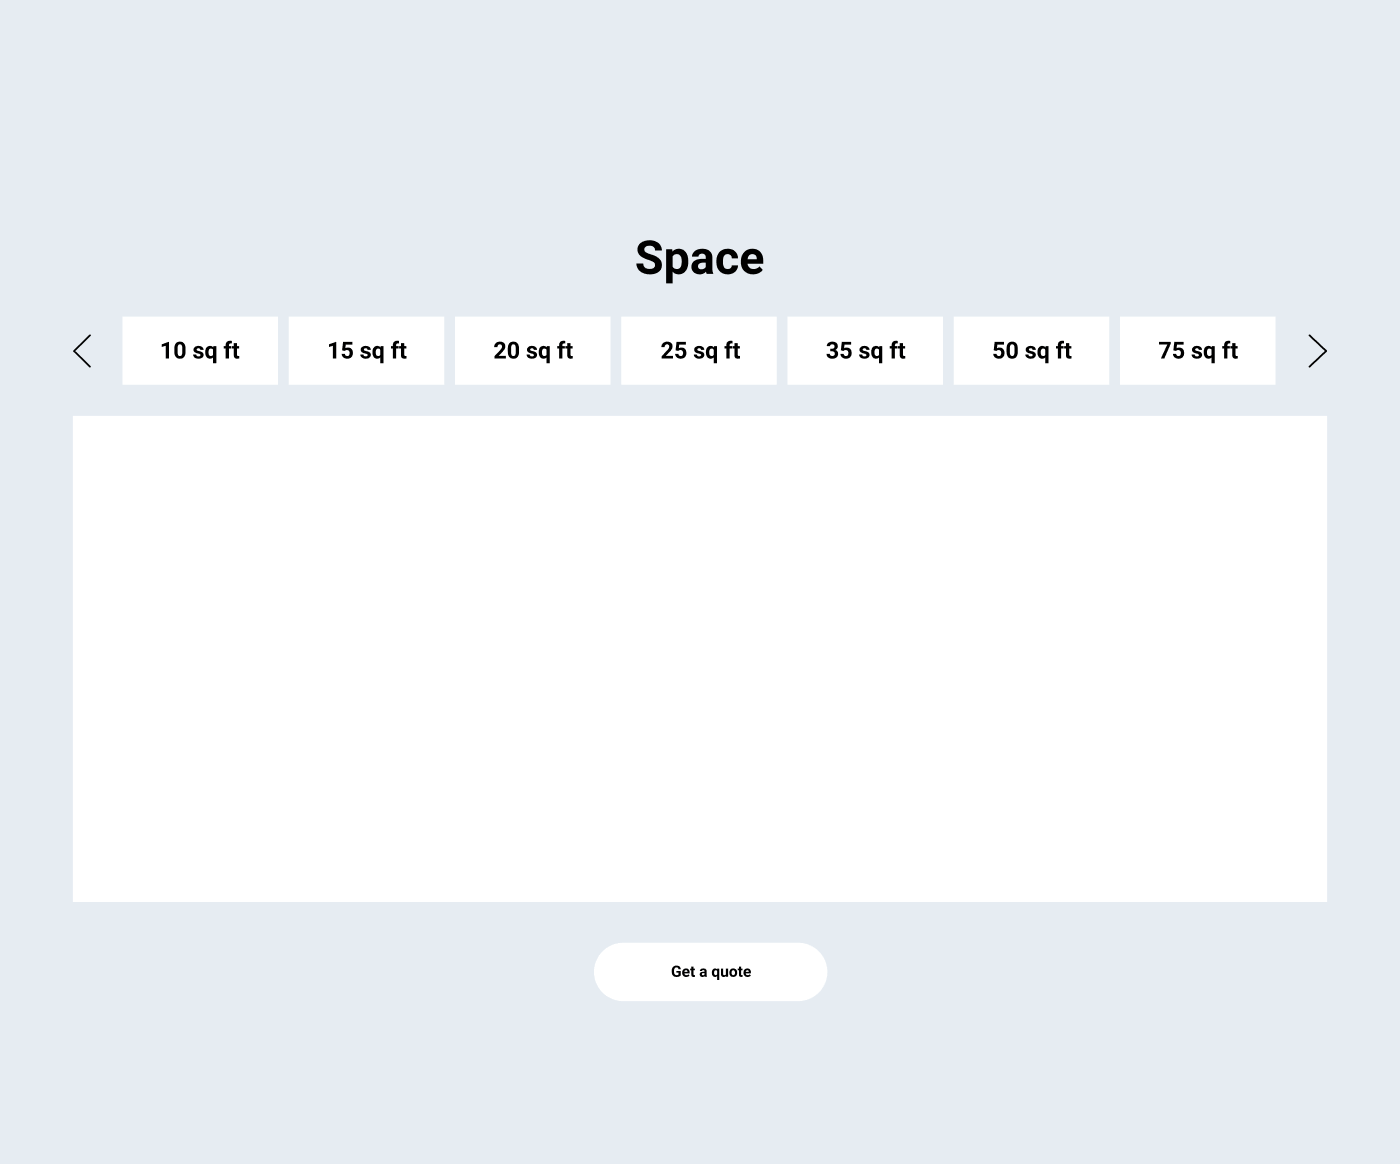
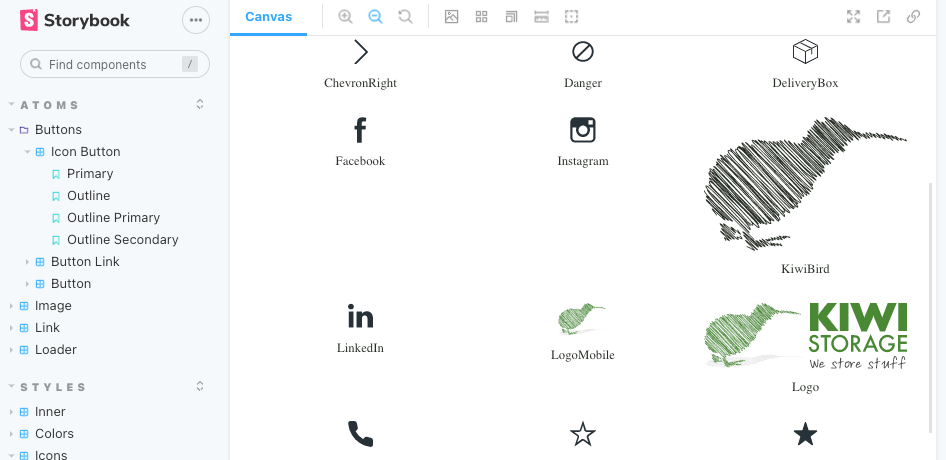
Then we recreated the UI components in the Storybook, so developers can test components in isolation.

  1. https:// pagepro.gitlab.io/
    Kiwi storage storybook 14
  2. https:// pagepro.gitlab.io/
    Kiwi storage storybook 22

Once the UI components were ready, we prepared static page templates in Next JS, tested them and fixed all the bugs.

From this moment we also conducted regular tests. We always start testing as soon as possible, as it makes the whole process faster since we don’t have to go back to fix the issues during the following phases.

The next step was preparing a dynamic Next.JS page, integrated with third-party services. The main integrations here were Google Analytics and Google Tag Manager, but as the customer is keen on further evolvement in the future, we gave him the possibility of launching external scripts.

Once the Fully dynamic Next JS was ready, we went through integration with Jamstack. We’re doing this separately to each and every page to make sure it is well implemented.

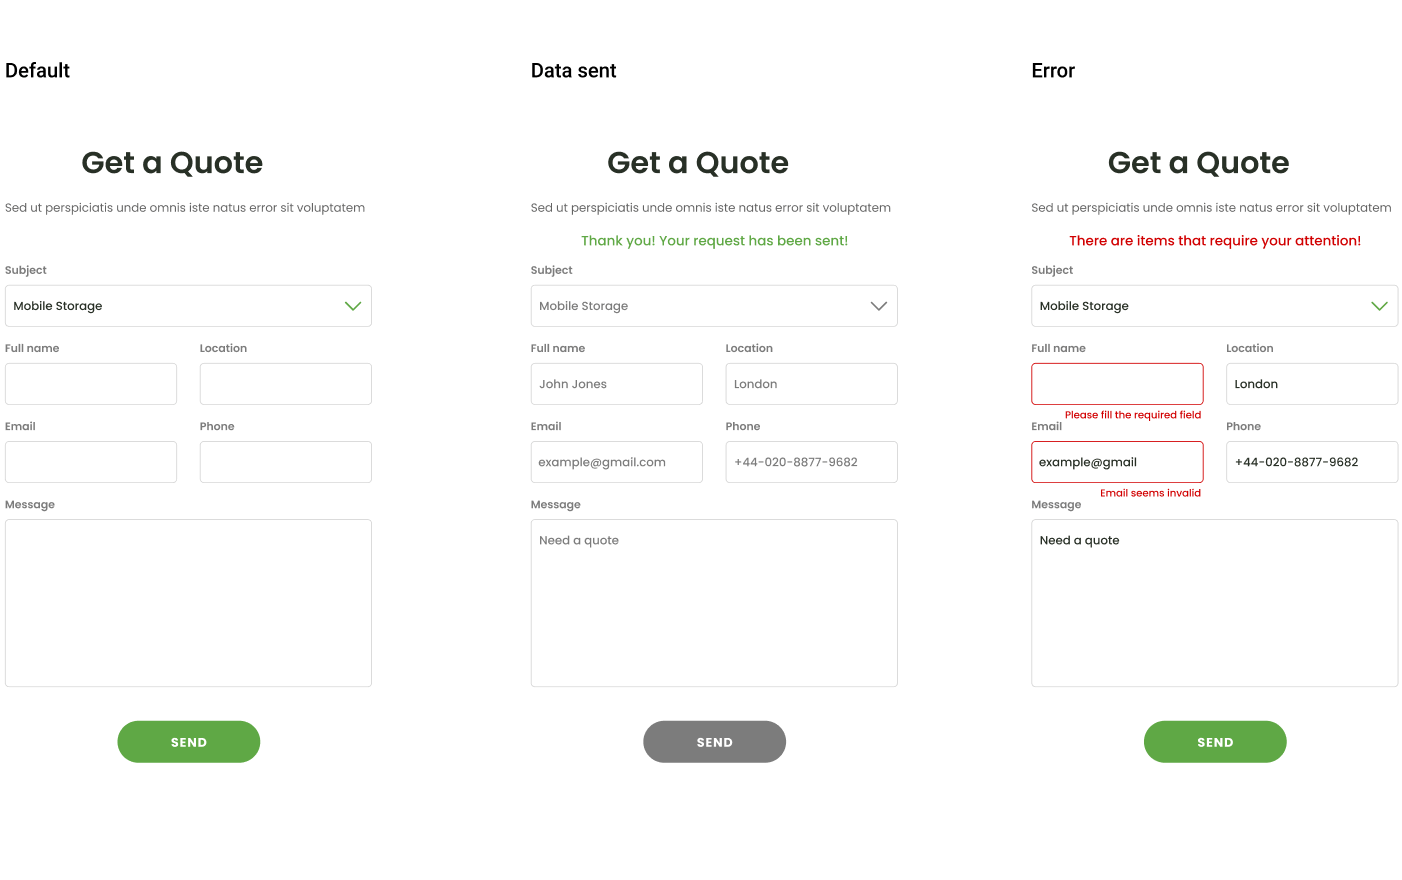
Additionally, in this project, we were integrating the Contact Form into the static Jamstack website.

Phase 5: Going live

In the final phase, we are focusing on speed and SEO optimization. Even though Jamstack websites are in theory faster than the others, we have to run all the checks and make all the improvements to make it the best possible.

While working on technical SEO, we run the Ahrefs test, set all the redirects, adjust the tags and make sure that the search engine bots will crawl the page and index it in the right way. What’s more, we ensure that the website is easy to navigate and free from any technical issues that can block the page from search engine rankings.

Once we are sure that everything is safe and sound, we are publishing the website on a production server, launch the project and test it one more time to make sure that it works perfectly well.

OUTCOME

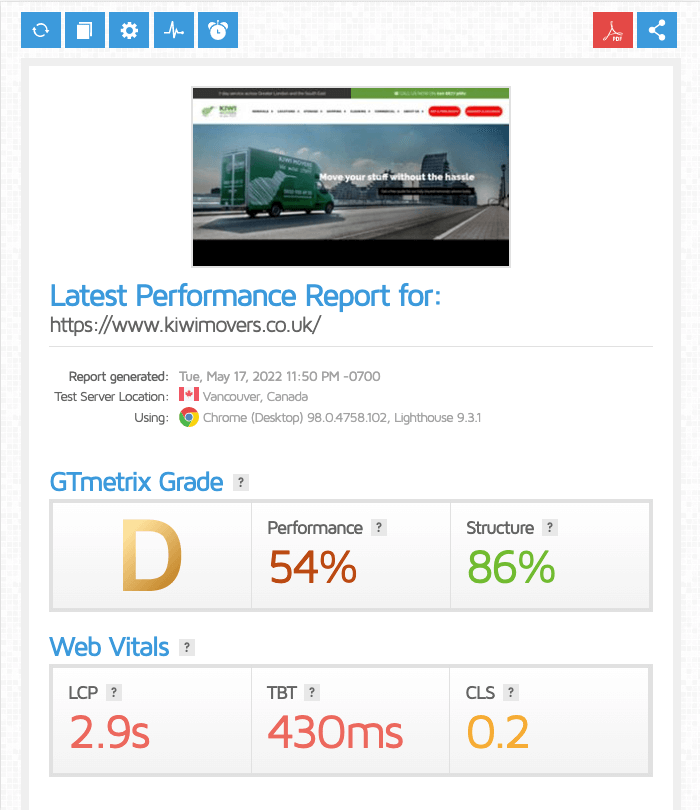
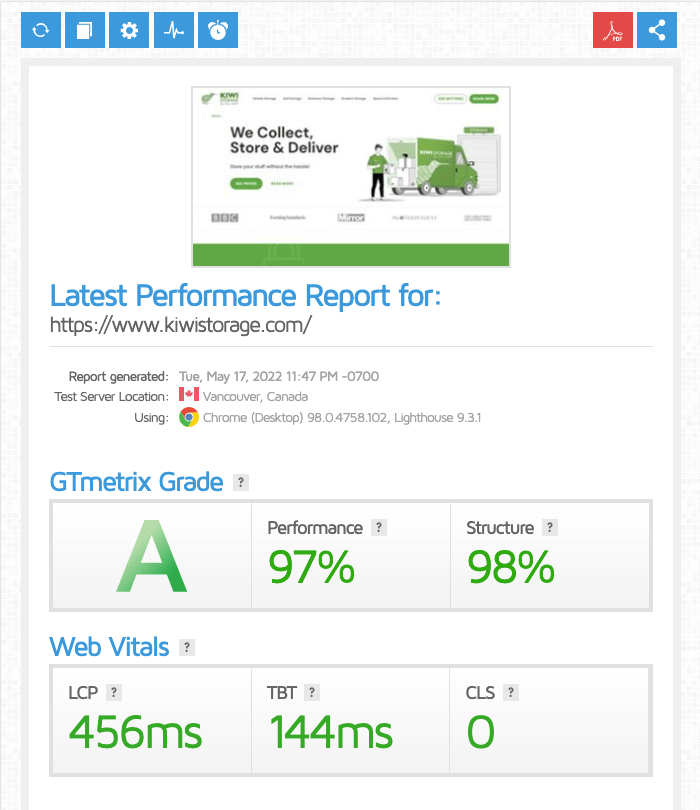
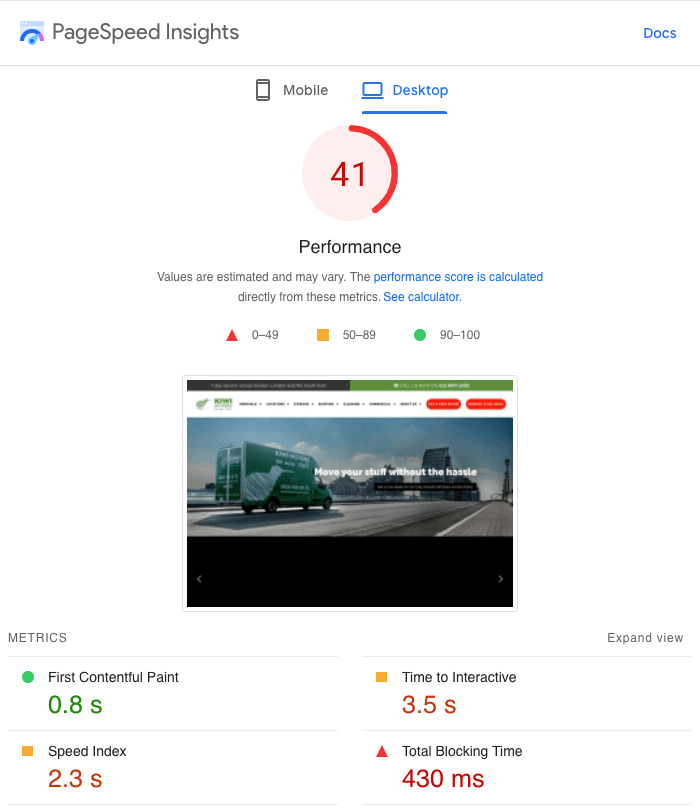
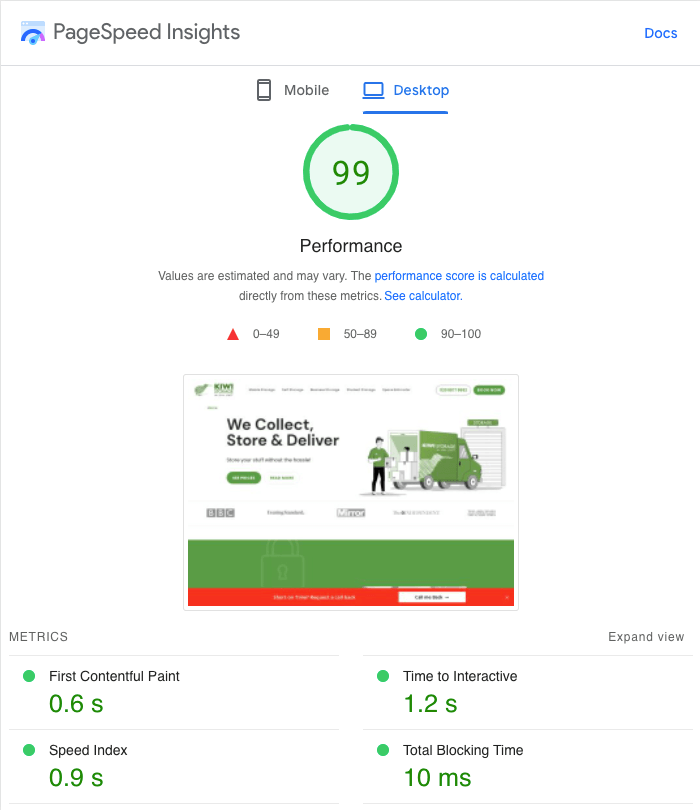
The results speak for themselves. Below you can compare the page performance results from the previous website and the one we’ve created.

  1. Comparision screenshot 16
  2. Comparision screenshot 18

Have a similar case? Use our experience!

Talk to our expert and see what we can to do push your project further.

Read our Privacy Policy to learn about the ways we protect and secure your personal information.